
এই পৃষ্ঠাটি এখনও অনূদিত হয়নি এবং ইংরেজিতে দেখানো হচ্ছে।
Making a T-shirt mockup
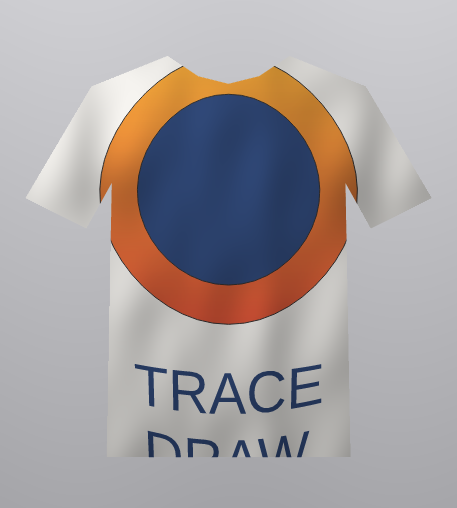
A mockup shows a design on a photo of the real thing, here a T-shirt, so you can judge it before it is printed. Four tools from the rest of this Help do the work: an envelope bends the design over the chest, a transparency merge mode lets the cloth's folds and shading show through the print, and a clip frame keeps the print on the shirt.
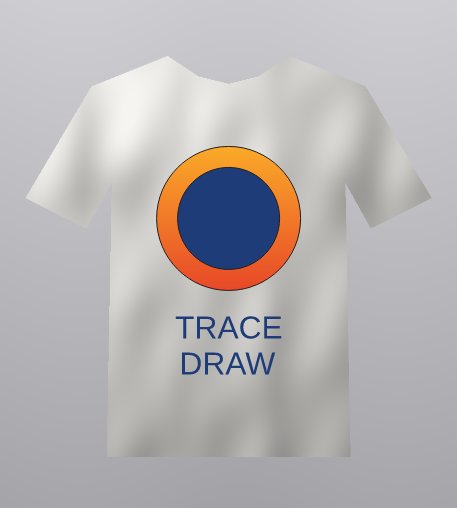
Place the photo and the design
- Choose File > Import and import a photo of a plain shirt, front view, in good light.
- Draw or import your design, place it over the chest and size it there.
- If the design is made of several objects, select them all and choose Object > Group, so the next steps treat it as one.
Follow the chest with an envelope
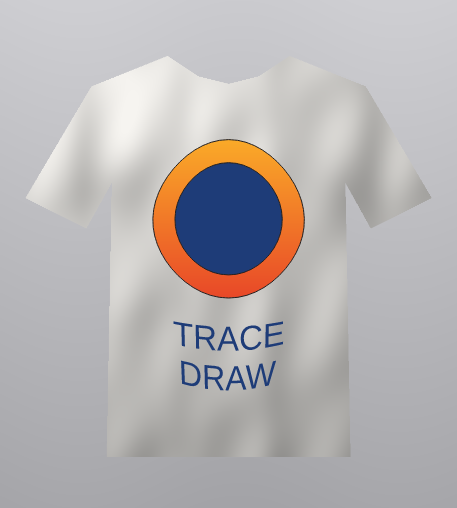
Cloth is not flat. A slight curve makes the print look as if it lies on the shirt.
- Select the design and choose the Envelope tool (or open Effects > Envelope).
- Use Single arc and drag the middle nodes a little: the bottom one down, the top one up and the side ones out. Keep it subtle.
Each object of a group is bent from the box of the whole group and keeps its own colours. See Envelopes.
Let the cloth show through: Multiply
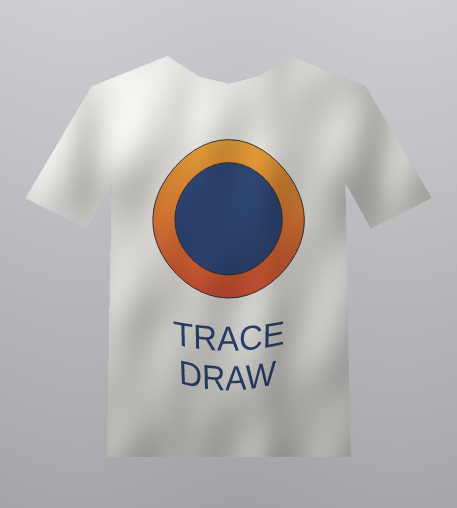
A print takes on the shading of the cloth under it. The Multiply merge mode does the same: each color is multiplied by what is beneath, so the folds and shadows of the photo darken the design where they darken the shirt.
- Select the design and choose the Transparency tool, or open the transparency settings in the Properties panel.
- Choose Uniform and set the amount low (0 to 10 %).
- Set Merge mode to Multiply.
See Transparency.
Keep the print on the shirt: a clip frame
A large print, or one placed near a sleeve, can reach past the shirt's edges.
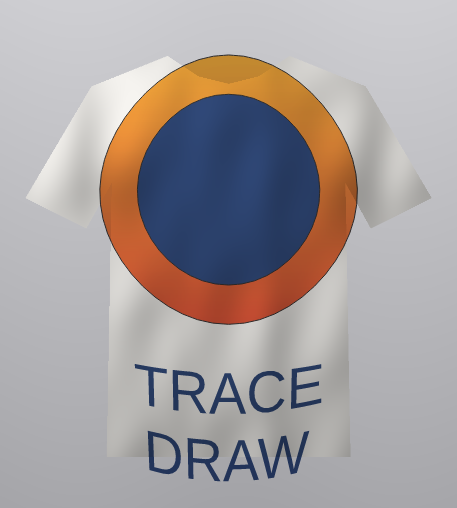
- Draw the outline of the shirt over the photo with the Bezier or Pen tool, following its edges (it does not need to be exact where the print does not reach). Give it no fill and no outline.
- Select the design, choose Object > Clip to Frame > Place Inside Frame and click the outline.
The print is cut to the shirt and keeps its Multiply merge mode: it still mixes with the photo beneath the frame. See Placing objects inside a frame.
Tips
- A white or light shirt shows Multiply best. On a dark shirt, try If Lighter for a light print, or keep Normal with a little transparency.
- To try another design, use Edit Contents, or Extract Contents, replace the design and place the new one inside again.
- Group the photo, the frame and the design to move the whole mockup.