
لم تُترجم هذه الصفحة بعد وتُعرض بالإنجليزية.
Extrusions
An extrusion turns a flat object into a solid-looking body, with sides that run from its outline to a copy of it, lit and shaded. It is a live effect: change the object and the body follows.
To extrude an object
With the tool:
- Choose the Extrude tool from the Effects flyout.
- Drag from an object. For a parallel extrusion the body runs along the drag; for the others the end of the drag is the vanishing point.
- Drag the handle (a square with a cross) to move the vanishing point.
With the panel (Effects > Extrude, Ctrl+F10): select an object, set the options and click Apply.
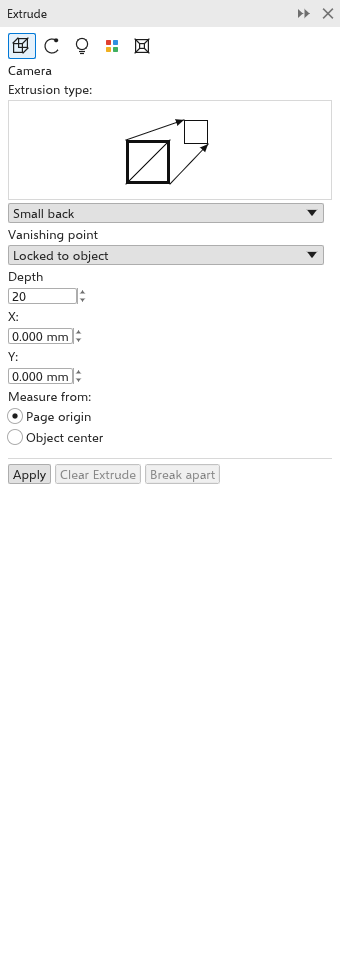
Groups and bitmaps cannot be extruded.
Extrusion settings
The panel has five pages, chosen with the buttons at its top; the property bar has the main settings and a 3D menu with the rest.
- Camera: the type of extrusion: small back (at first), big back, small front, big front, back parallel or front parallel. Back types grow behind the object, front types in front of it. The depth (1 to 99, 20 at first), the vanishing point (X and Y, counted from the page origin or the object's center), and whether it is locked to the object (moves with it) or to the page. For parallel types, X and Y are the offset.
- Rotation: turns the body in space about X, Y and Z (-360 to 360 degrees); Reset puts it back.
- Lighting: the angle (135 degrees at first), intensity (50 at first) and elevation of the light, and two more lights you can turn on.
- Color: Object fill (the object's color, at first), Solid (one color) or Shade (a gradient from one color to another on each side).
- Bevel: a beveled edge on the front face, with its width.
Clear extrude removes the extrusion; Break apart turns the faces into objects, grouped beside the object. Object > Break Extrude Group Apart (Ctrl+K, also on the right-click menu) does the same.